LC-06 · Profile guide
LC-06: details that carry through the corners
LC-06 combines a curved front with a more detailed lower edge. Those small steps distinguish it from a simpler cove and help it sit comfortably beside other decorative trim. They also make careful alignment an important part of the finished appearance.
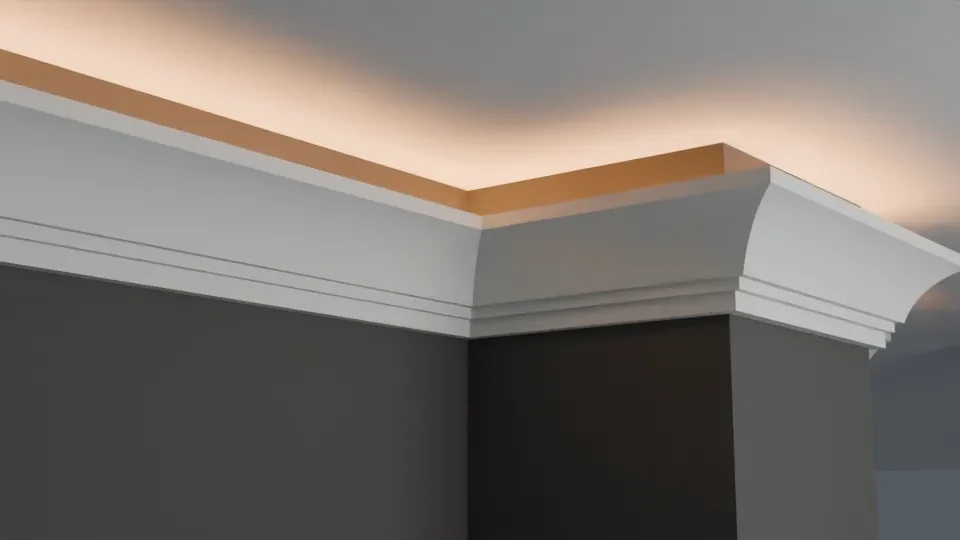
Keep every lower step in line
Measure each run and check the actual room corners before preparing the joins. Dry-fit the pieces and align the lower steps as carefully as the top. Correct the fit before applying finishing material; filler should preserve the profile’s lines, not hide a misplaced section.
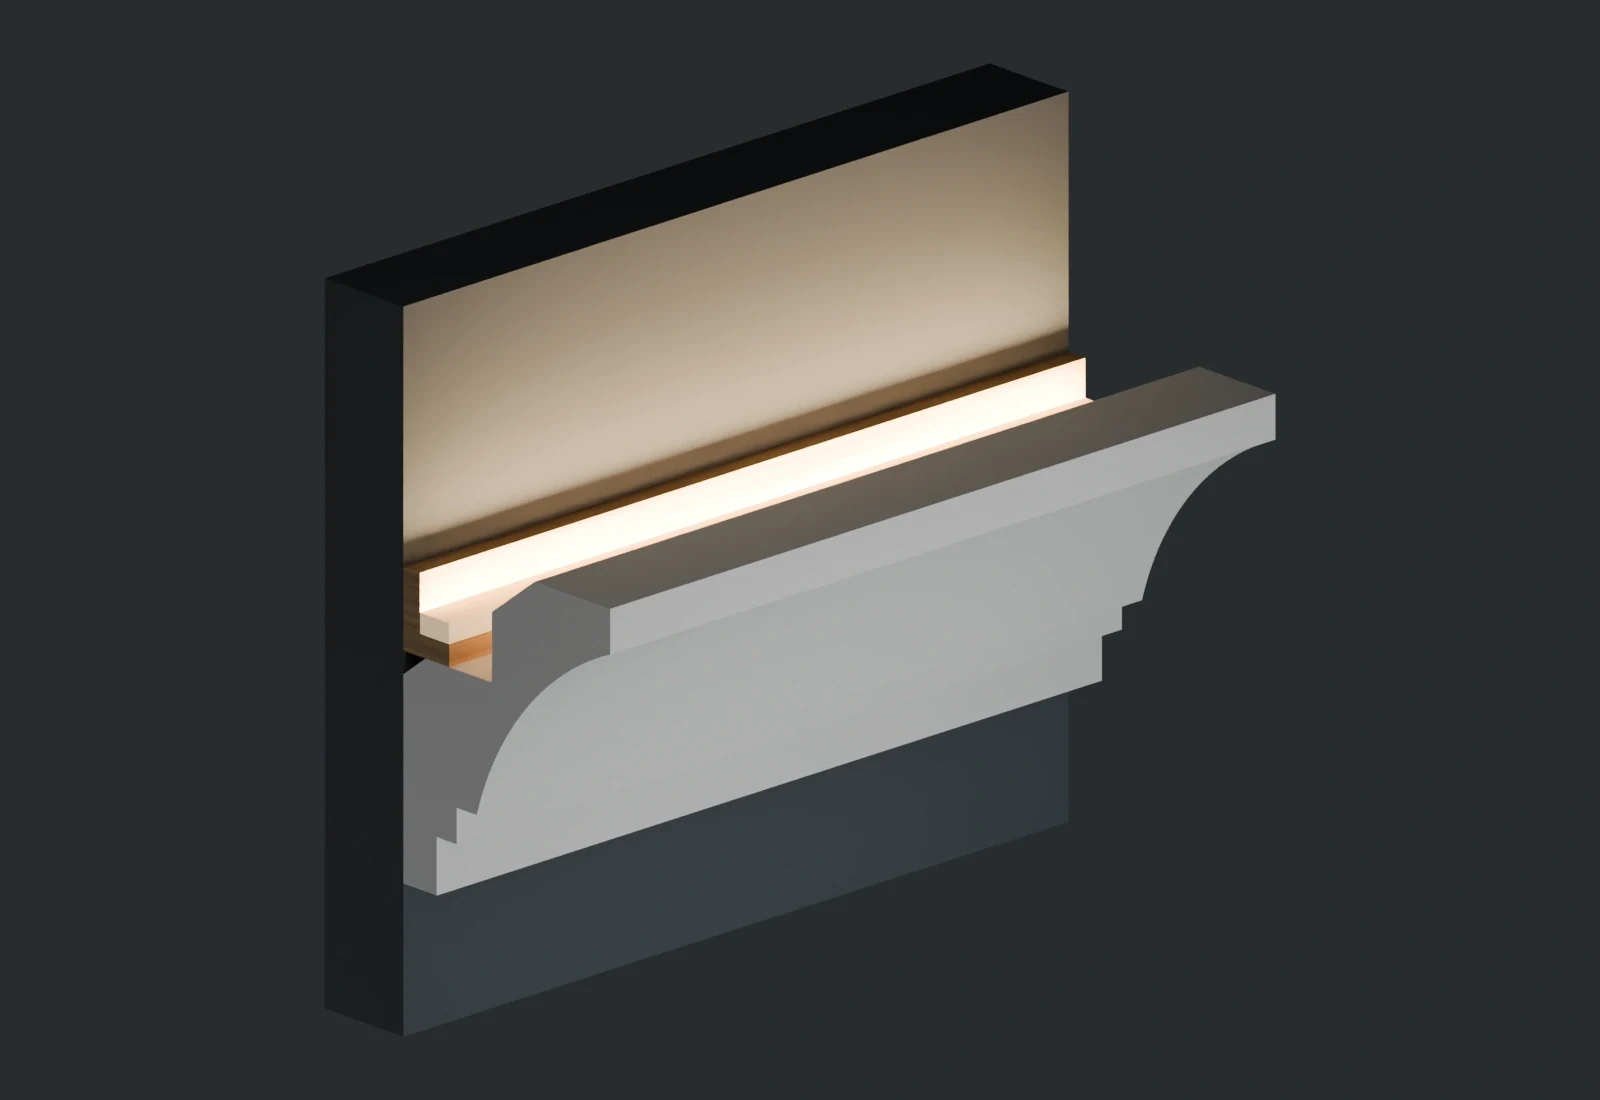
In the illustrated flat-wall arrangement, the LED rests on a separate L-shaped support. Test the lighting through corners and connections before the moulding is finished. Keep drivers and controls accessible, and confirm the ceiling gap and mounting requirements for the selected system.
Plan your next step
For GTA supply and installation, send your location, room dimensions and photos. Electrical hookups, dimmers and motion sensors are project-specific options to discuss and quote. For other Canadian locations, check product and delivery options with Nu Crown; installation availability must be confirmed.
Confirm the chosen LED system’s mounting and heat-management requirements. Electrical work should be handled by a qualified professional under applicable requirements.
Choosing the right proportions
Limited lifetime moulding replacement warranty: coverage and conditions